Full Lace Wigs for Beginners

When you decide you want to buy a full lace wig to change up your look and style, you want it too look really good. This is why the application process is probably one of the most important things. A full lace wig is a wig that has a lace all around the unit. They also make glueless full lace wigs that do not need adhesive and comes with adjustable straps and combs.
It’s definitely a preference, but sometimes full lace wigs need glued to look more natural and last longer throughout the day. Also, full lace wigs tend to be on the pricier side because of the work that goes into making them.
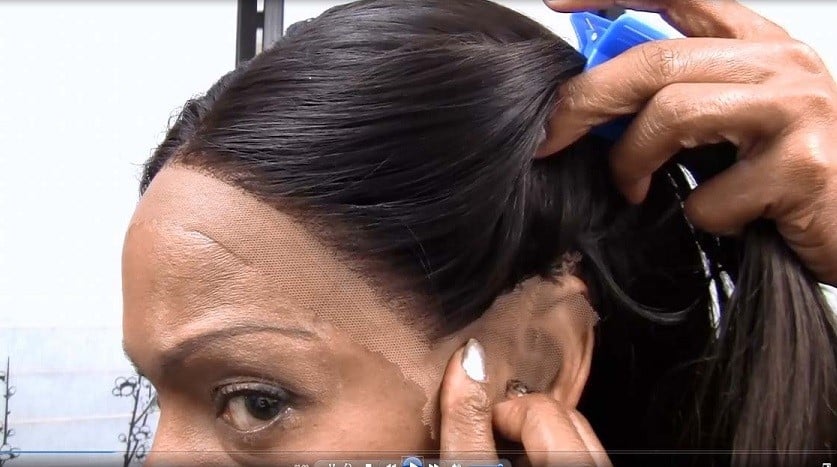
Cutting the Lace-Prior to any customization, you want to carefully cut the lace around your unit as close as possible to the hairline. You want it to appear as real as possible so it looks like it’s actually growing out of your own scalp.
Braiding or Tying the Hair Back-The first thing you want to do is to put your hair back and make it as flat as possible in order to get a flawless install of your full lace wig. Place your wig cap on top of your head aligning it with your hairline and make sure the area around where the wig will adhere is clean and dry. You can cleanse it with an alcohol wipe. 99% alcohol is recommended.
Proper Placement-Put on your wig cap and align the wig cap with your natural hairline. Doing this will ensure it’s in place before you add any adhesive. Using glue is 100% safe, as long as it’s applied and removed properly. When you first purchase your full lace wig, you should buy lace wig adhesive and lace release or glue remover. Doing a skin test 24 hours prior is also recommended.
If you are dealing with a full lace wig that needs glued down, it is best to wear gloves as well since the process can get messy. Apply the adhesive right in front of the hairline and pull the edges of the wig cap slightly over the glue. You then want to wait about 10 to 15 minutes for the adhesive to get tacky and spring back at you when you place your finger on it. Many glue adhesives are applied white and turn clear when ready for the wig to be placed.
When you sit the full lace wig on top of your head for placement, you do NOT want the wig sitting on top or too close to your eyebrows. You want to have as much as forehead showing as possible. The wig should start directly at your own hairline or slightly in front. It is suggestible that you part your unit directly in the middle to help you get it aligned on your head. You then want to carefully press the lace to the adhesive once you have it lined up.
When you get around to the back of the wig, lift up the back of the wig in order to expose the back of the neck. Then place the adhesive around the backside of your nape. Again wait 10 to 15 minutes, and then place the back of the lace onto the neck. In addition to glue a tape adhesive should be used. At Intriguing Hair our hair extension experts can sew the perimiter of your hair down but an adhesive needs to go in front for a flawless full lace wig application.
Camouflaging the Scalp line-Once you have your wig positioned, a great way to get your full lace wig to look even more natural is to use concealer or a lighter eye shadow right along the part line of the wig. This will help disguise the wig knots on the top. At Intriguing Hair our hair extension experts can bleach the knots and tint the lace to match the color of your scalp.
Another item you can use to camouflage the wig part are scar sheets or silicone patches. These look exactly like skin and are very effective when your wig knots are large and very noticeable. All you need to do is to paste the sheet on the inside of the wig right underneath the part line.


Comments